[Rewards: Great Photos Even on Your Own] #1. Photos
This content is
Episode 1 of the <REWARDS: You Can Take Great Photos on Your Own>
series.
Be sure to bring this!
- You don’t need to hire an agency. Try taking the photos yourself from the perspective of a maker who knows Rewards best.
- From the three basic principles that apply to all photography—not just your Story (product detail page)—
- to the types of images that perform well on wadiz and how to photograph your products as a maker.
Why are photos so important?
Because they’re the easiest and fastest way to boost your project’s appeal. Of course, high-quality photos don’t guarantee a successful funding campaign. But one thing is certain: the more great photos you have, the longer supporters will stay engaged with your project. Since photos are so important, here are some tips on how to take them yourself—without an agency—since you know your Rewards best.
1. Basic Photography Tips: Follow These, and You’re Halfway There
Shoot in a well-lit area whenever possible,
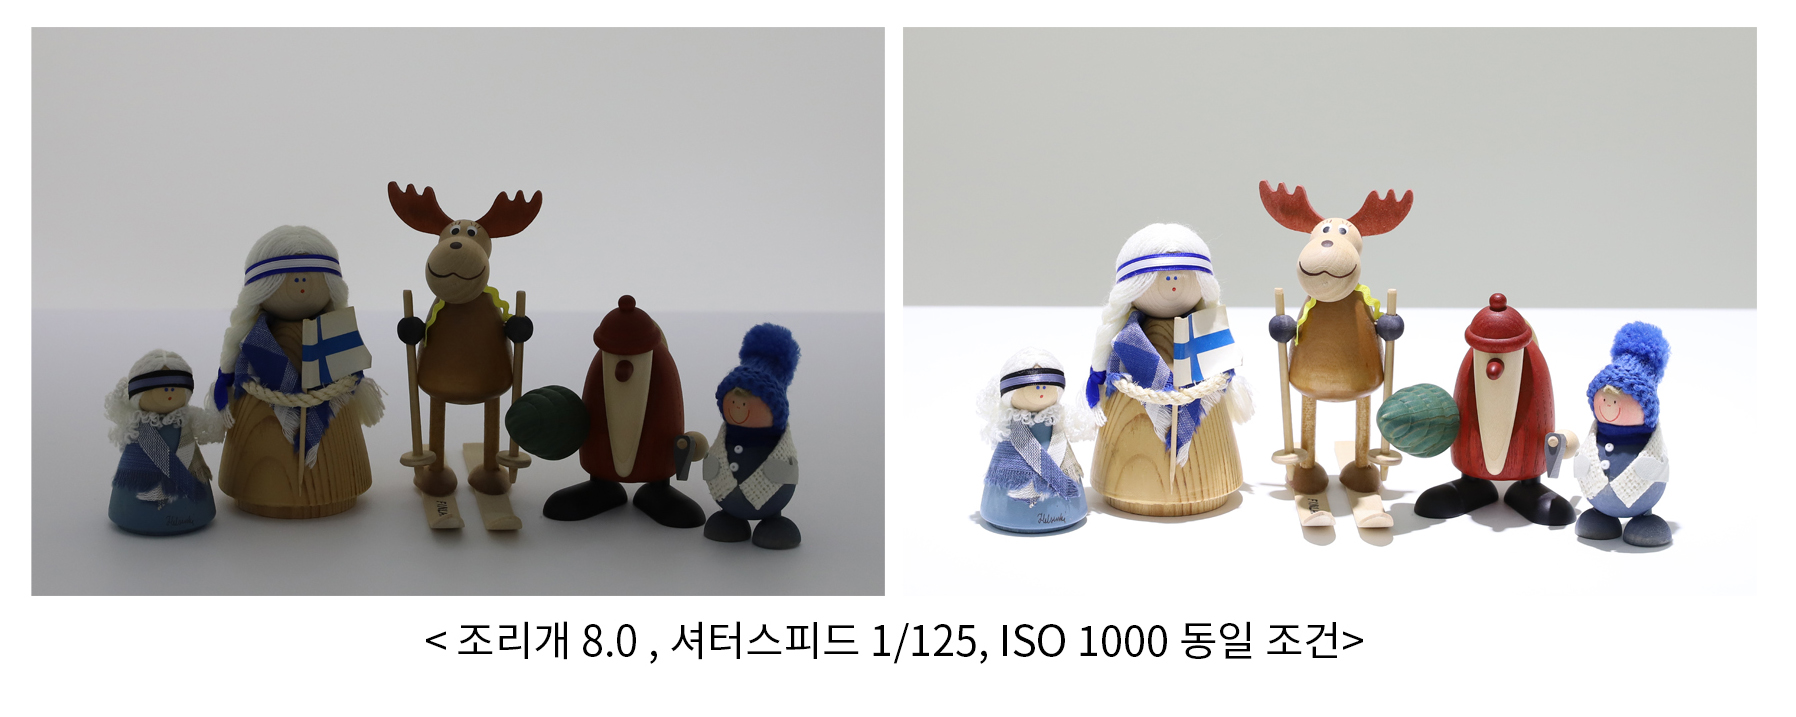
Between Image 1 and Image 2, which one do you find more appealing? Image 1 was taken in a dark location, so the Rewards (products) aren’t clearly visible. In contrast, Image 2 was taken outdoors in bright natural light, showing the entire cup, so the whole Rewards (products) are clearly visible. When taking photos, try to shoot in a bright outdoor setting with natural light or in a space with good artificial lighting. Just by adjusting the brightness, you’ll be able to capture much higher-quality photos.
while sipping a drink and wearing your clothes,

Imagine if, when smartphones were first released, there were no images showing how to use them—only written instructions. Many people would likely have scratched their heads, given up trying to understand, and quickly moved on to something else. The same applies to wadiz funding. Since the Rewards featured on wadiz are products being unveiled to the world for the first time, it can be difficult to understand how to use or wear them based on text alone. It’s okay to stage the shots a bit—please film yourself using the Reward in as much detail as possible. For example, if it’s a cup, show it being used; if it’s a pet bowl, show it filled with treats while your pet is eating from it. This will look much more appealing than simply having the Rewards sitting there on their own.
Show as much variety as possible from head to toe
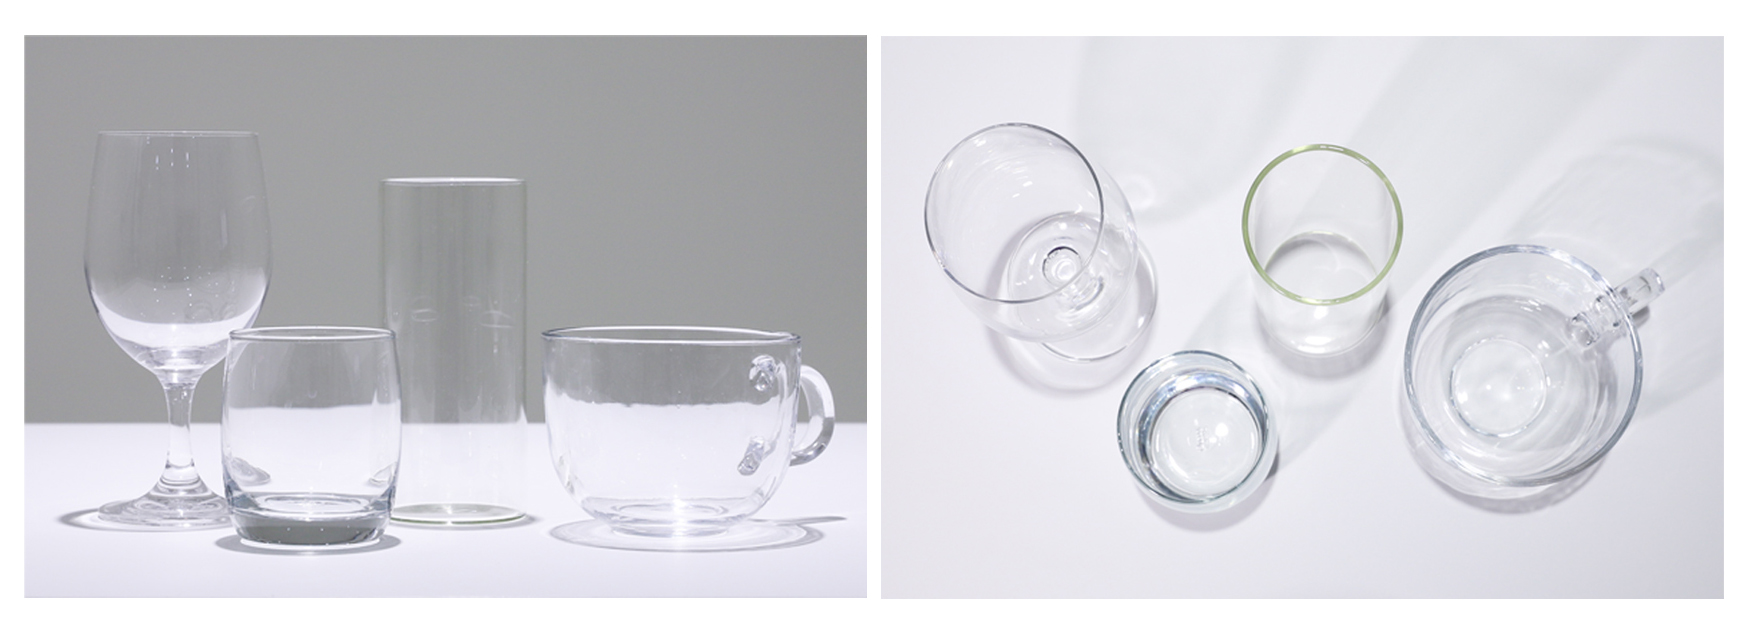
When it comes to photos, quality matters more than quantity. Three photos showing the front, side, and back views can be far more effective than ten stylish group shots. This applies even if there’s a specific angle you’d like to highlight for a particular Reward. Please take photos of every nook and cranny as thoroughly as possible so that supporters who are funding without seeing the actual product don’t feel anxious. For example, if you’re showcasing a cup, instead of taking 10 photos of just the side of the cup, you could show it from the right and left, from above and below, placed on a table, and filled with tea—presenting it in a variety of ways.
2. How to Take Featured Images That Double Your Click-Through Rate
Sticking to the recommended sizes is the absolute minimum
O | X |
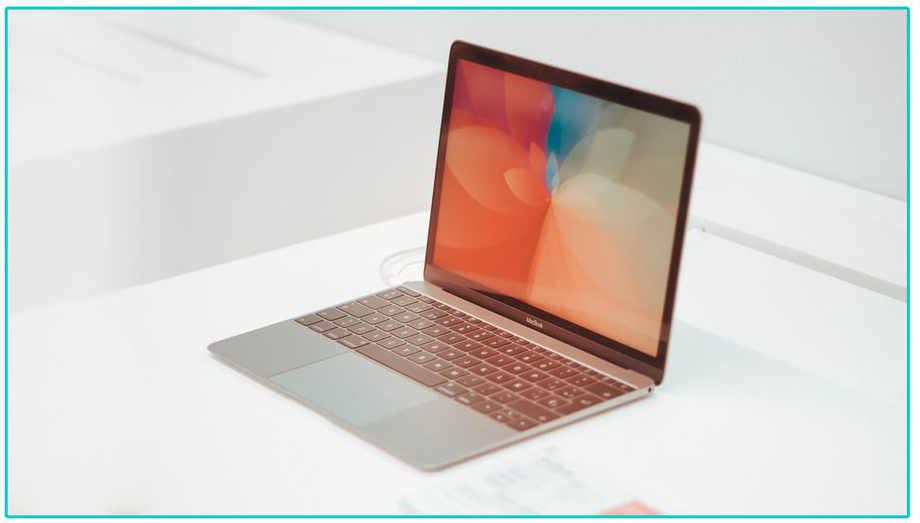 | 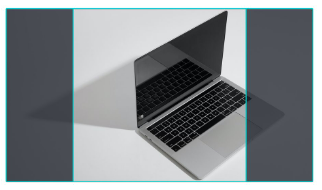 |
The main image size recommended by wadiz is 1200 pixels wide by 675 pixels tall . Since the left and right margins may be cropped when sharing on social media, it’s best to position the product in the center whenever possible. It would be disappointing if a photo you worked hard on ended up cropped due to size issues, right? Even if it’s a bit of a hassle, please be sure to set your main image to the recommended size.
Keep the text to a minimum so the Rewards stand out
O | X |
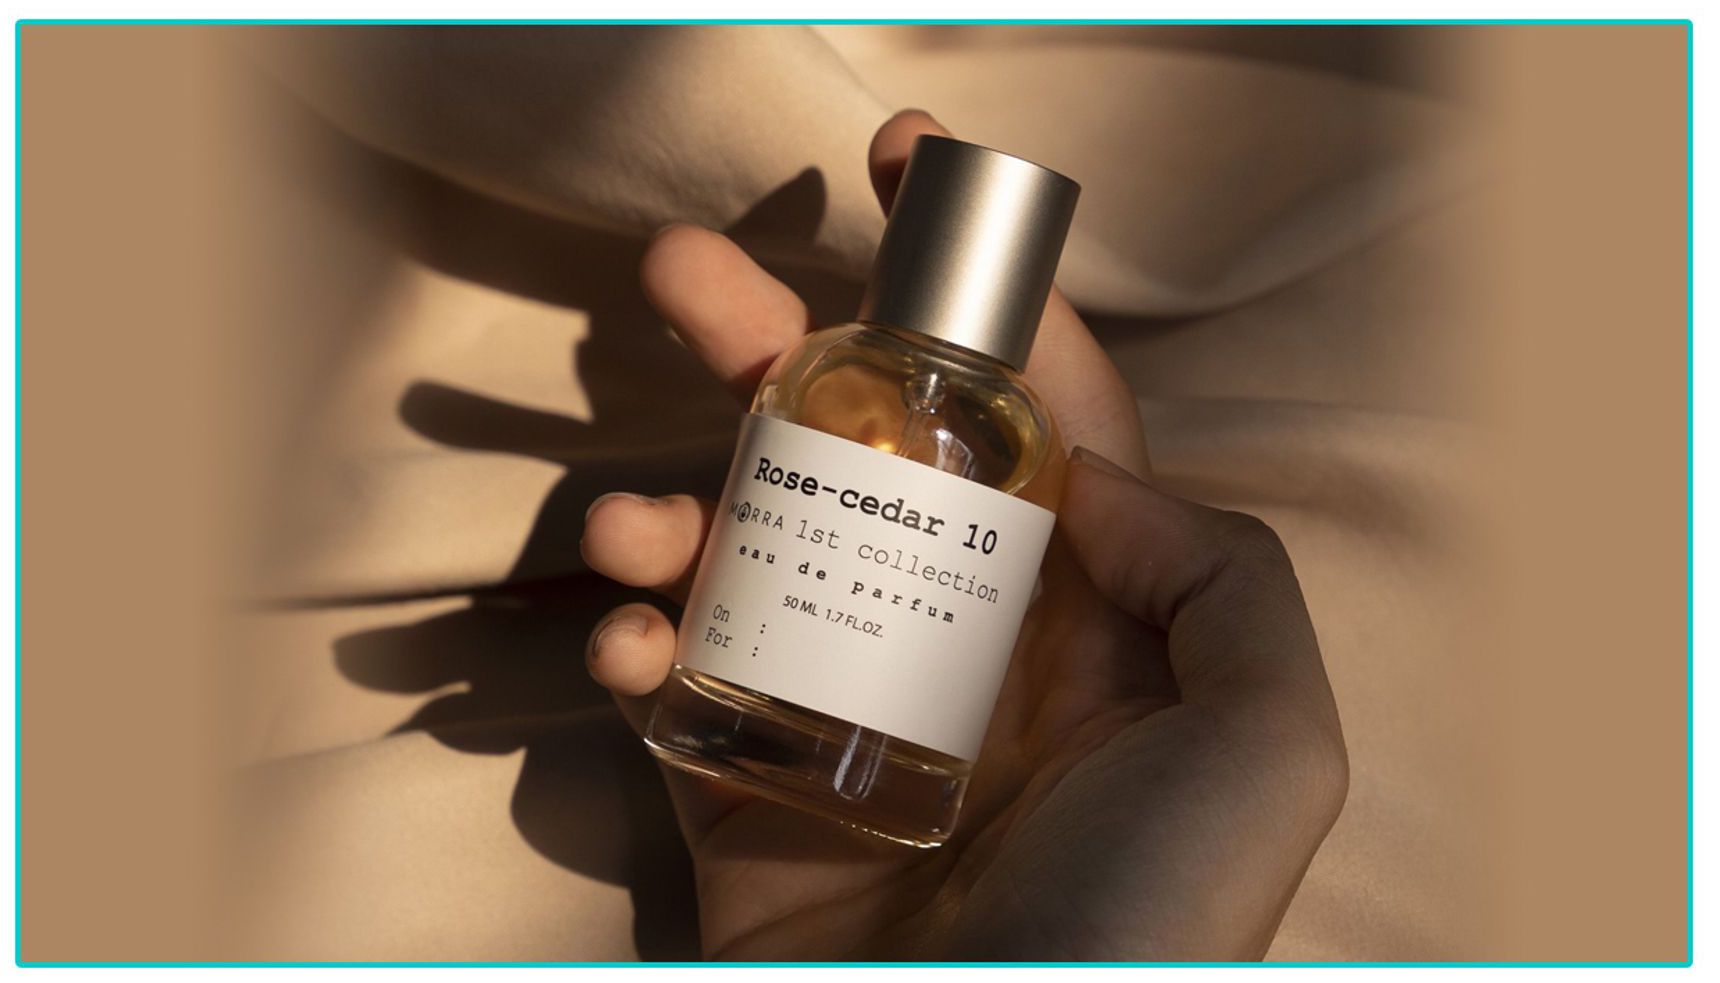 | 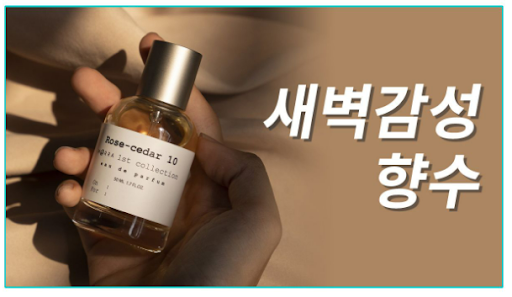 |
The main image is, quite literally, an “image.” Since it appears alongside the project title, there’s no need to add text to the image. In fact, too much text can distract from the image. Occasionally, text may not display properly on mobile devices or social media, so please feel free to remove any text from the featured image.
Make sure the Rewards don’t blend into the background
O | X |
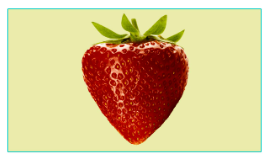 | 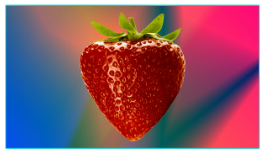 |
To draw attention to the Rewards, it’s best to use colors similar to the Rewards themselves and avoid overly bright fluorescent colors or gradients whenever possible. For example, if your Reward is a black bag but you photograph it against a black background, the product won’t stand out. When taking photos, rather than just aiming for a pretty picture, keep focusing on whether “Rewards stand out.”
3. How to Take Introductory Photos That Grab Attention the Moment Visitors Enter Your Project
At least 5 images; images with GIFs and text are even better
O | X |
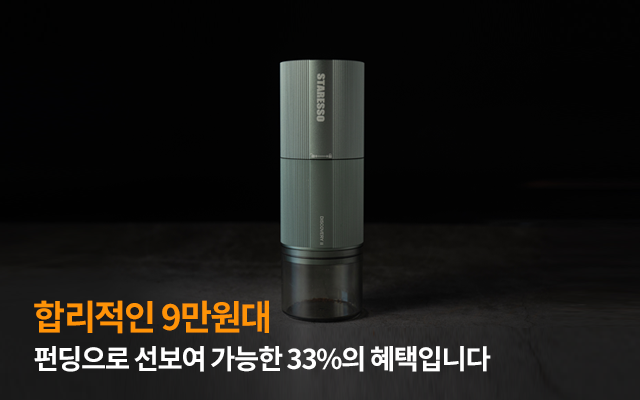 | 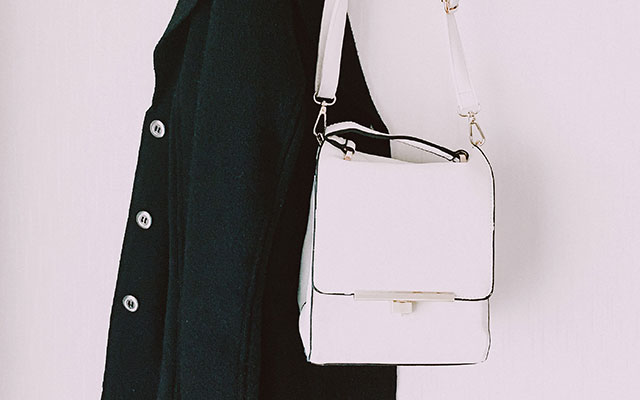 |
According to a recent analysis of supporter behavior, we observed that many supporters tend to scroll past or zoom in on the introduction photos. Therefore, you should include at least one introduction photo—preferably at least five. Also, since the behavior of swiping through photos resembles that of viewing card-style news, we also recommend introducing Rewards to the introduction photo .
However, please avoid profile photos where it is difficult to distinguish Rewards from the image , please avoid cover photos where it’s difficult to distinguish which items are the project’s Rewards.
4. Photography Tips for Makers That Boost Trust Just by Following These Guidelines
Photos taken with a cell phone are OK! Make them as natural and friendly as possible
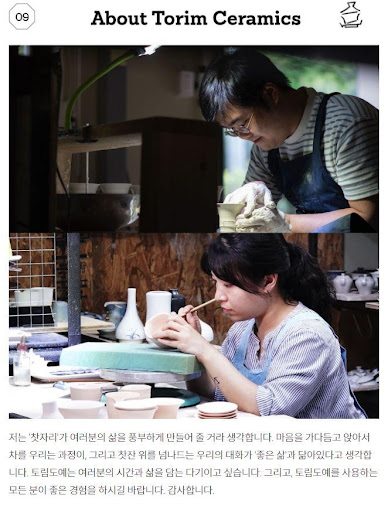
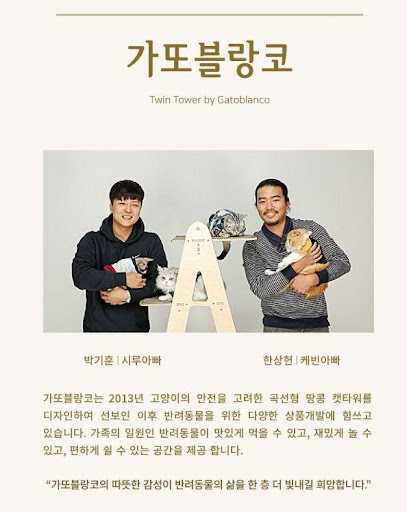
Group photo of the makers/team members working on the project | Photos that highlight expertise (on-site atmosphere) | Photos that capture the essence of the project (Rewards) |
 |  |  |
Photos that showcase your personality (black-and-white is also acceptable) | Self-interview videos are also welcome | |
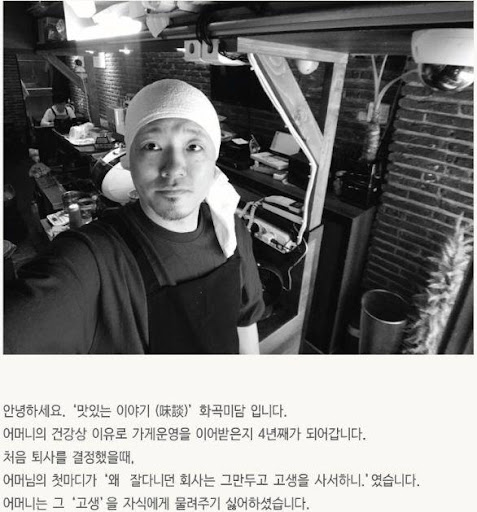 | 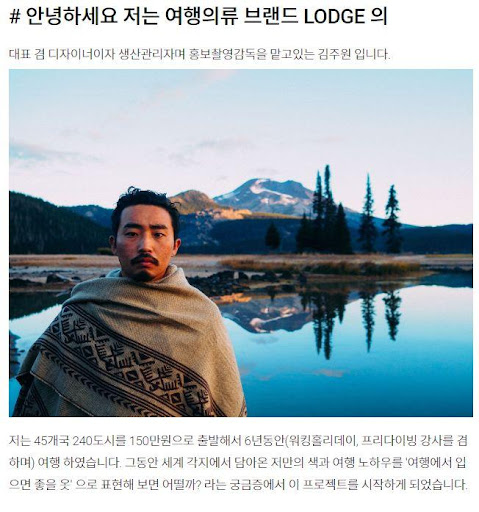 | 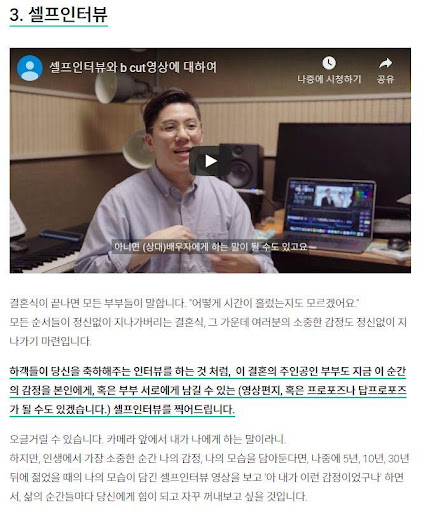 |
As they read your Story, your supporters will surely wonder: Who is making this product or service? They won’t be able to see the actual item and will have to wait a long time to receive their Rewards—is this someone they can trust? This is It’s the maker’s photos that instill confidence in these anxious supporters, reassuring them that it’s safe to proceed with funding for the project. It doesn’t have to be a high-quality photo taken in a studio. Even a phone photo taken just five minutes before writing your Story is fine—just make sure to capture a natural, approachable look that makes people want to strike up a conversation, rather than a stiff, formal expression.
-
[Rewards: You Can Take Great Photos on Your Own] Series
- Photos
- Video