[Product Photography Tips for Detail Pages #4] Expert Photography Tips by Product Type
This content is part of the
<Product Photography Tips for Detail Pages>
series.
Be sure to bring this!
- We’ll share tips on photographing products—something many people do but find challenging.
- Just as every product has its own unique selling points, the best photography techniques vary from product to product.
- You can enhance a product’s appeal by using lighting and composition effectively.
The shooting technique varies depending on the product type.
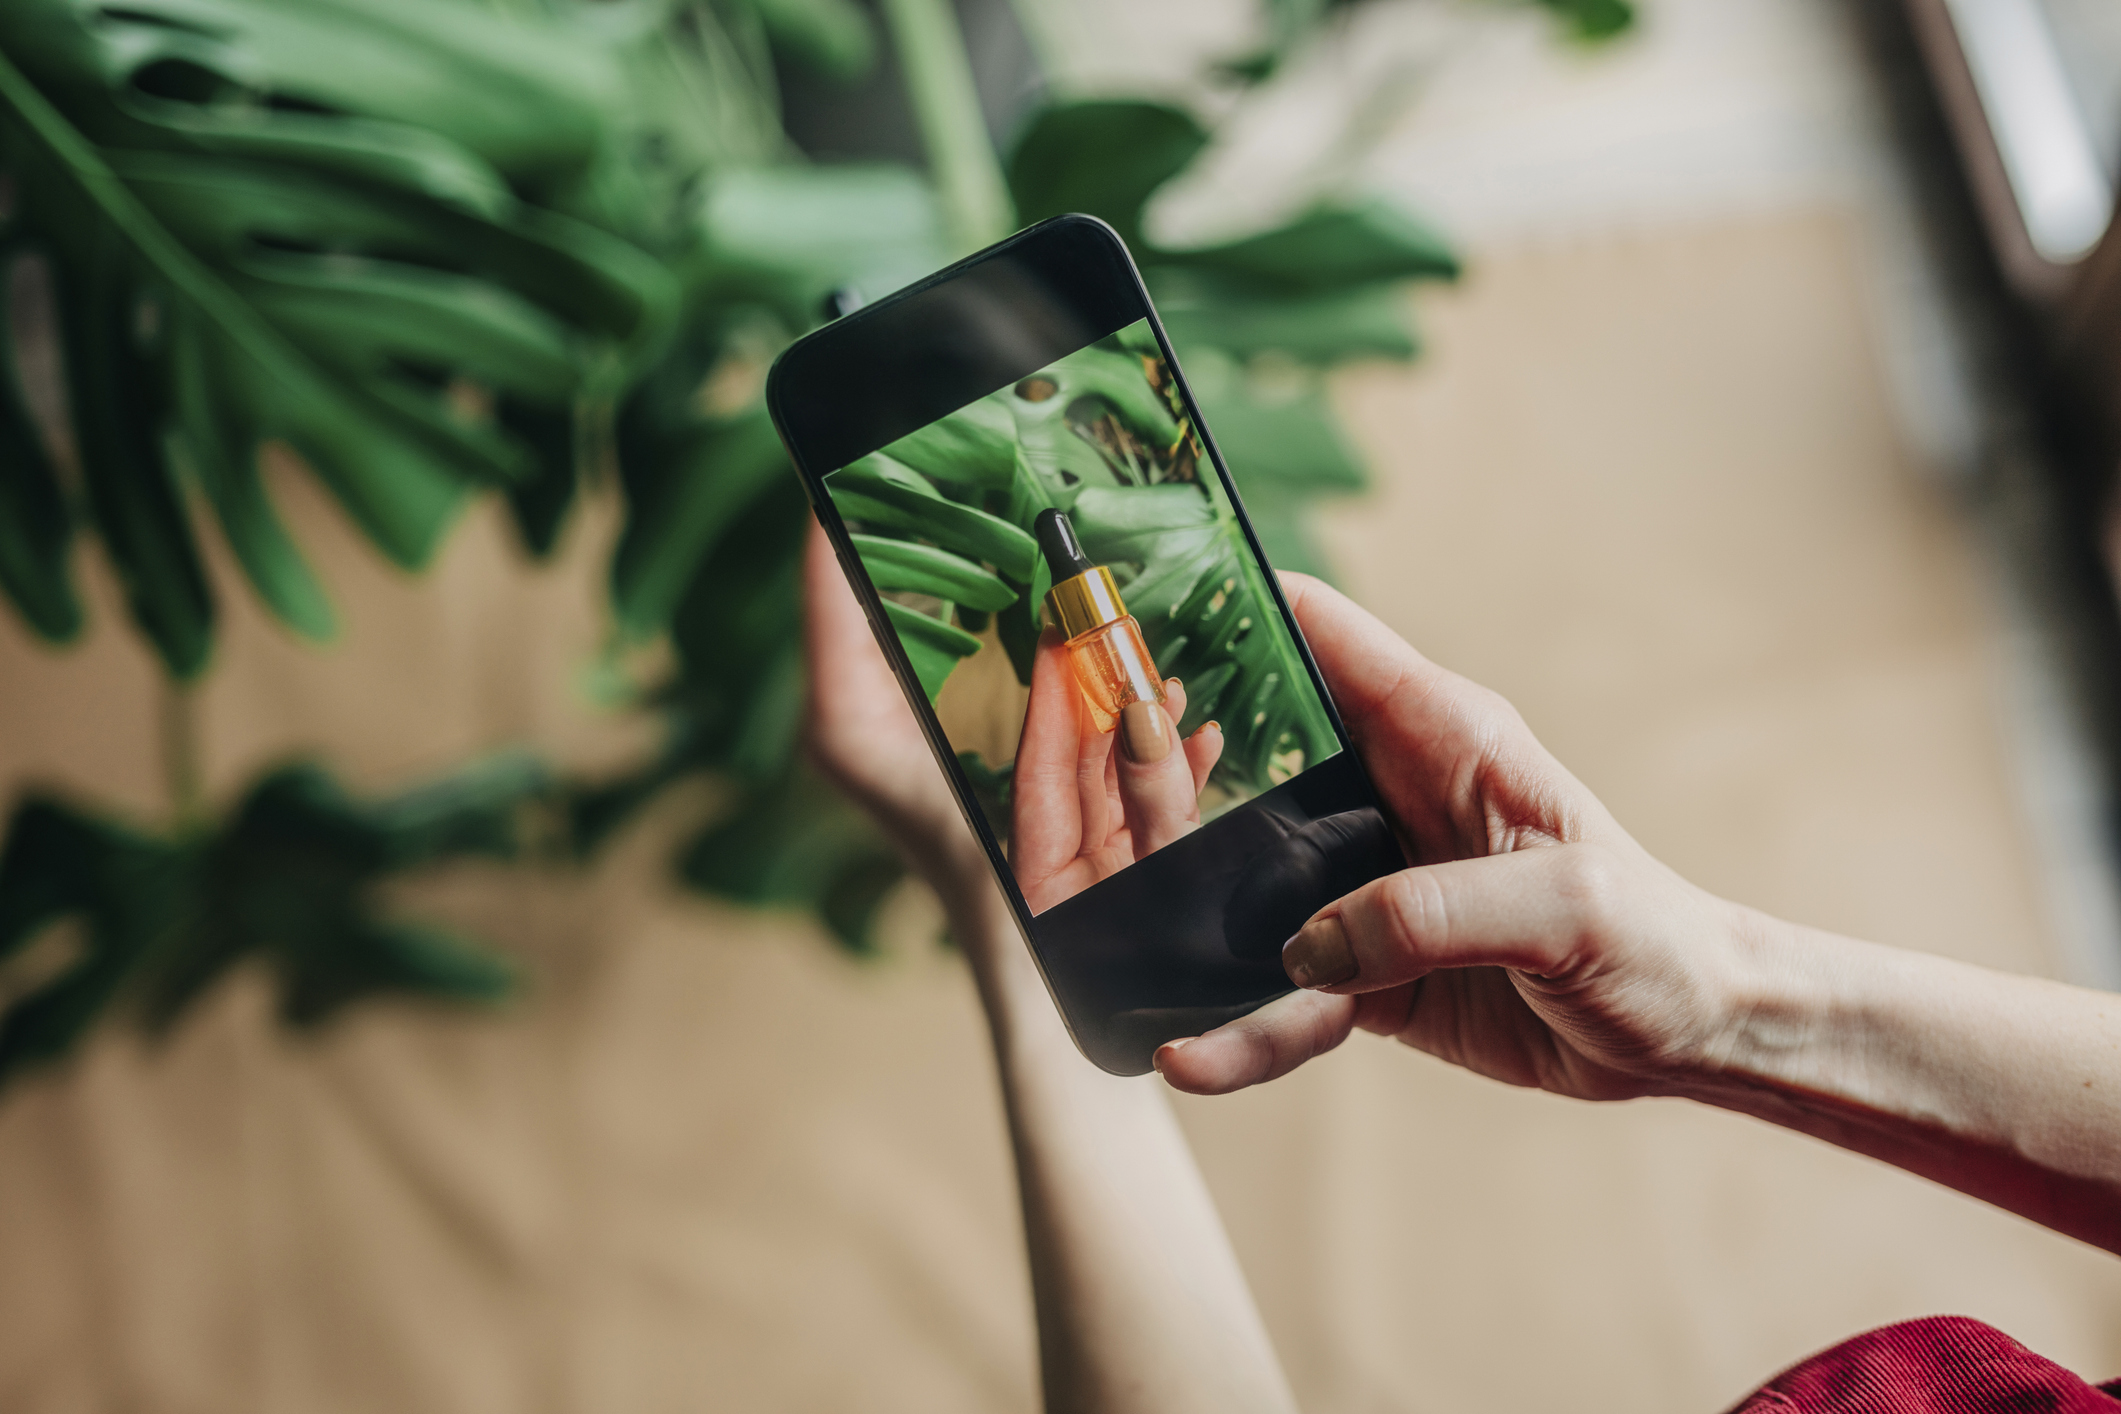
Just as every product has its own unique selling points, the shooting techniques should naturally vary as well. Today, we’ll share some tips for photographing food, jewelry, and cosmetics—subjects that many people try to shoot but often find challenging.
1. How to Photograph Food
With food, it’s difficult to convey the taste through the Story itself, so capturing the visuals and texture is paramount. Therefore, you need to take photos that look much more appetizing than they actually appear. With that in mind, here are a few tips for taking “appetizing” photos.
Using Light
Lighting is the most crucial element in food photography. Natural light is ideal—especially diffused natural light coming in through a window, which captures the freshness and texture of the food most naturally. If natural light is insufficient, try using a daylight-colored (5600K) LED light to match the color temperature.
Once the lighting is set up, it’s time to frame the shot. The lighting looks much more natural when it comes from the side or behind the food, rather than directly from the front.To bring out the food’stexture, shine the light from the side and use a white reflector on the opposite side to create shadows—this creates a natural lighting effect. You can gauge the direction of the light by looking at the shadows in the example photo below.
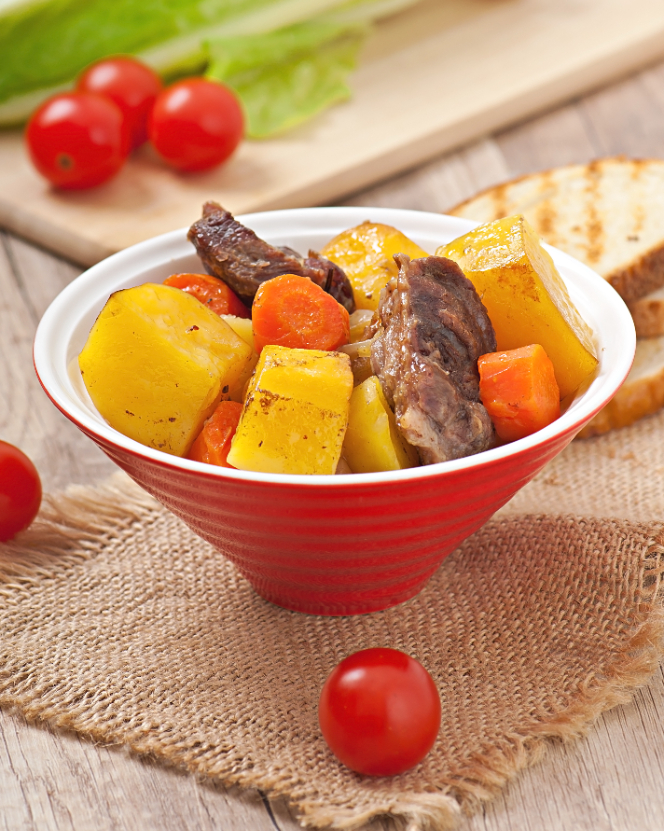
If you shine the light directly from above the food at a right angle, excessive shadows can make the food look cold and stiff. You should also be careful because if the lighting is too strong or too weak, the light may blur the food’s details or fail to properly highlight its texture.
Enhancing the Final Result Through Styling
Food photography requires various styling techniques.
- Increase visual appeal: Lightly brushing food with oil to add a glossy sheen can fill in that last 2% that was missing.
- Conveying Texture and Freshness: Apply wood glue to cheese, or spray water or hairspray on fruits like strawberries or apples to make their texture and freshness apparent without having to touch them.
- Visually Showing Temperature: Need to create steam for warm food? You can do this by microwaving dry ice or a cotton swab dampened with water.
The Most Ideal Compositions for Food Photography
Let me first introduce the three most recommended compositions.
- Top View: This is suitable for flat, low-profile foods like pizza and salads.
- 45-Degree Angle: Most foods look most natural and three-dimensional from this angle.
- Close-up shots: Use close-ups to emphasize the details of the food. This technique is particularly useful for capturing the sheen of sauces, textures, and the doneness of meat.
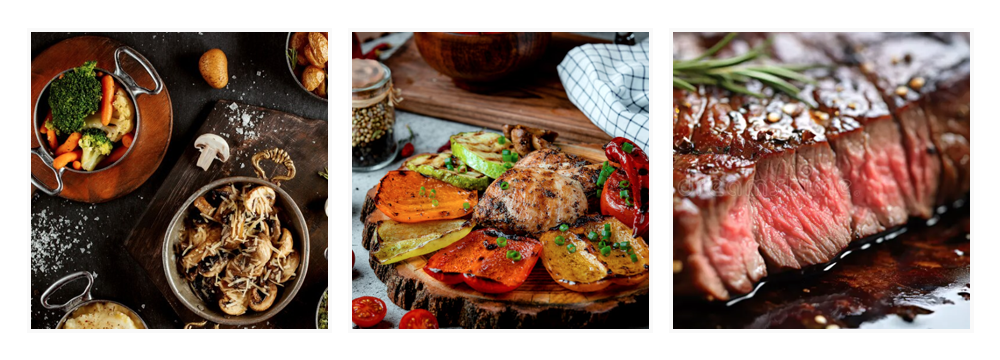
If you need to showcase the inside of a piece of meat, a dessert, or the fillings of a hamburger, showing a cross-section of the product can result in a much more visually appealing photo. At the same time, negative space in the photo is important. A composition that fills the frame to a certain extent is generally safe; if there is too much negative space or the gaps between dishes look empty, the food may appear lackluster and the details may not come across properly.
2. How to Photograph Jewelry
Jewelry is one of the trickiest product categories to photograph because its appearance changes significantly depending on the lighting.If you fail to properly capturethe sparkle ofthe metal and the luster of the gemstones, the photo may look flat or cheap. However, as long as you follow a few basic principles, anyone can take elegant and sophisticated jewelry photos.
Details Created by the Direction of Light
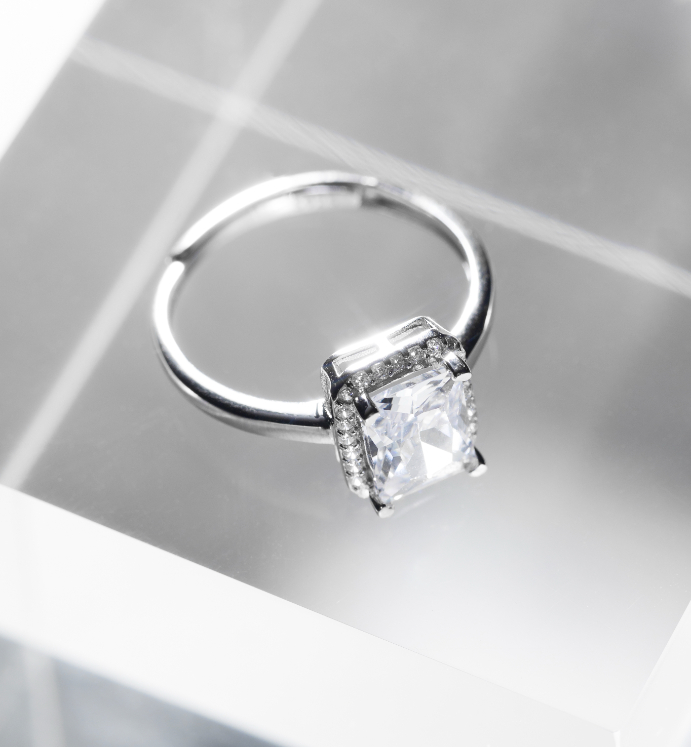
For jewelry photography, we recommend using at least two light sources.This is because you need a main light to illuminate the area aroundthe productand a fill light to create direct reflections on the product itself.By positioning the main light slightly to the side and slightly behind the subject, and adding a fill light from the opposite direction to enhance the gem’s sparkle, you can bring out the gem’s color and create a sparkling effect. If you need a more glamorous look, placing a light that isn’t too strong directly above the product can help you achieve brighter, more dazzling photos depending on the situation.
As you can see, since this setup requires multiple lights, there are some precautions to keep in mind.
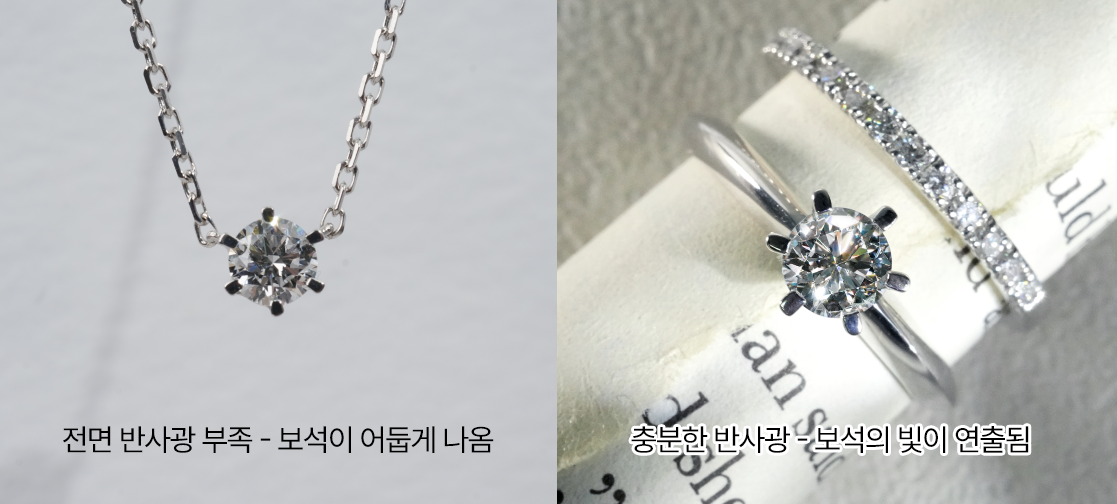
- Ensure Ample Lighting: First, if there isn’t enough light to create reflections on the gemstone, it won’t sparkle and will appear dark.
- Avoid Direct Front Lighting: If light hits the gemstone’s surface head-on, the gemstone may appear washed out rather than sparkling. Since this detracts from the gemstone’s details, try adjusting the lighting position or the angle of the product.
- Check for camera reflections: In reality, reflections on the front of the product are common and difficult to completely eliminate. However, it’s best to set up your shooting table to minimize reflections and shoot from a medium to close distance. Retouching isn’t an option—it’s a must, right?
The Most Ideal Angle for Jewelry Photography
Since detail is crucial in jewelry photography, even slight changes in angle can make a big difference. Therefore, close-up shots are often used.
1) If shooting with a smartphone → Try shooting in macro mode at the shortest possible focal length.
2) If you’re using a camera → Try using a macro lens that allows for close-up shots.
3) If you don’t want to miss any details → Set the aperture to the highest possible value.
4) If the shot looks flat → Try tilting the product at an angle of 45 degrees or less to create more varied light reflections.
5) If you want to emphasize a sense of luxury → Try shooting from a top-down angle using textured backgrounds like soft fabric, marble, or wood.
The Importance of Small Details
First and foremost, the most important thing is to keep the jewelry in the cleanest possible condition without damaging its luster.Even if they aren’t visibleto the naked eye,you’ll often find fingerprints in the photos after shooting, so be sure to have a lens cloth or similar item on hand to wipe off any dust, and wear cotton gloves when handling the product.
If you’re creating a GIF to showcase jewelry, you can achieve a much more sophisticated look using just two items: a mini light and a turntable. By keeping the product stationary and moving only the mini light, you can capture the product’s dazzling reflections. Test out various angles—even just moving the light slightly from above the product is enough to capture high-quality footage for a GIF.
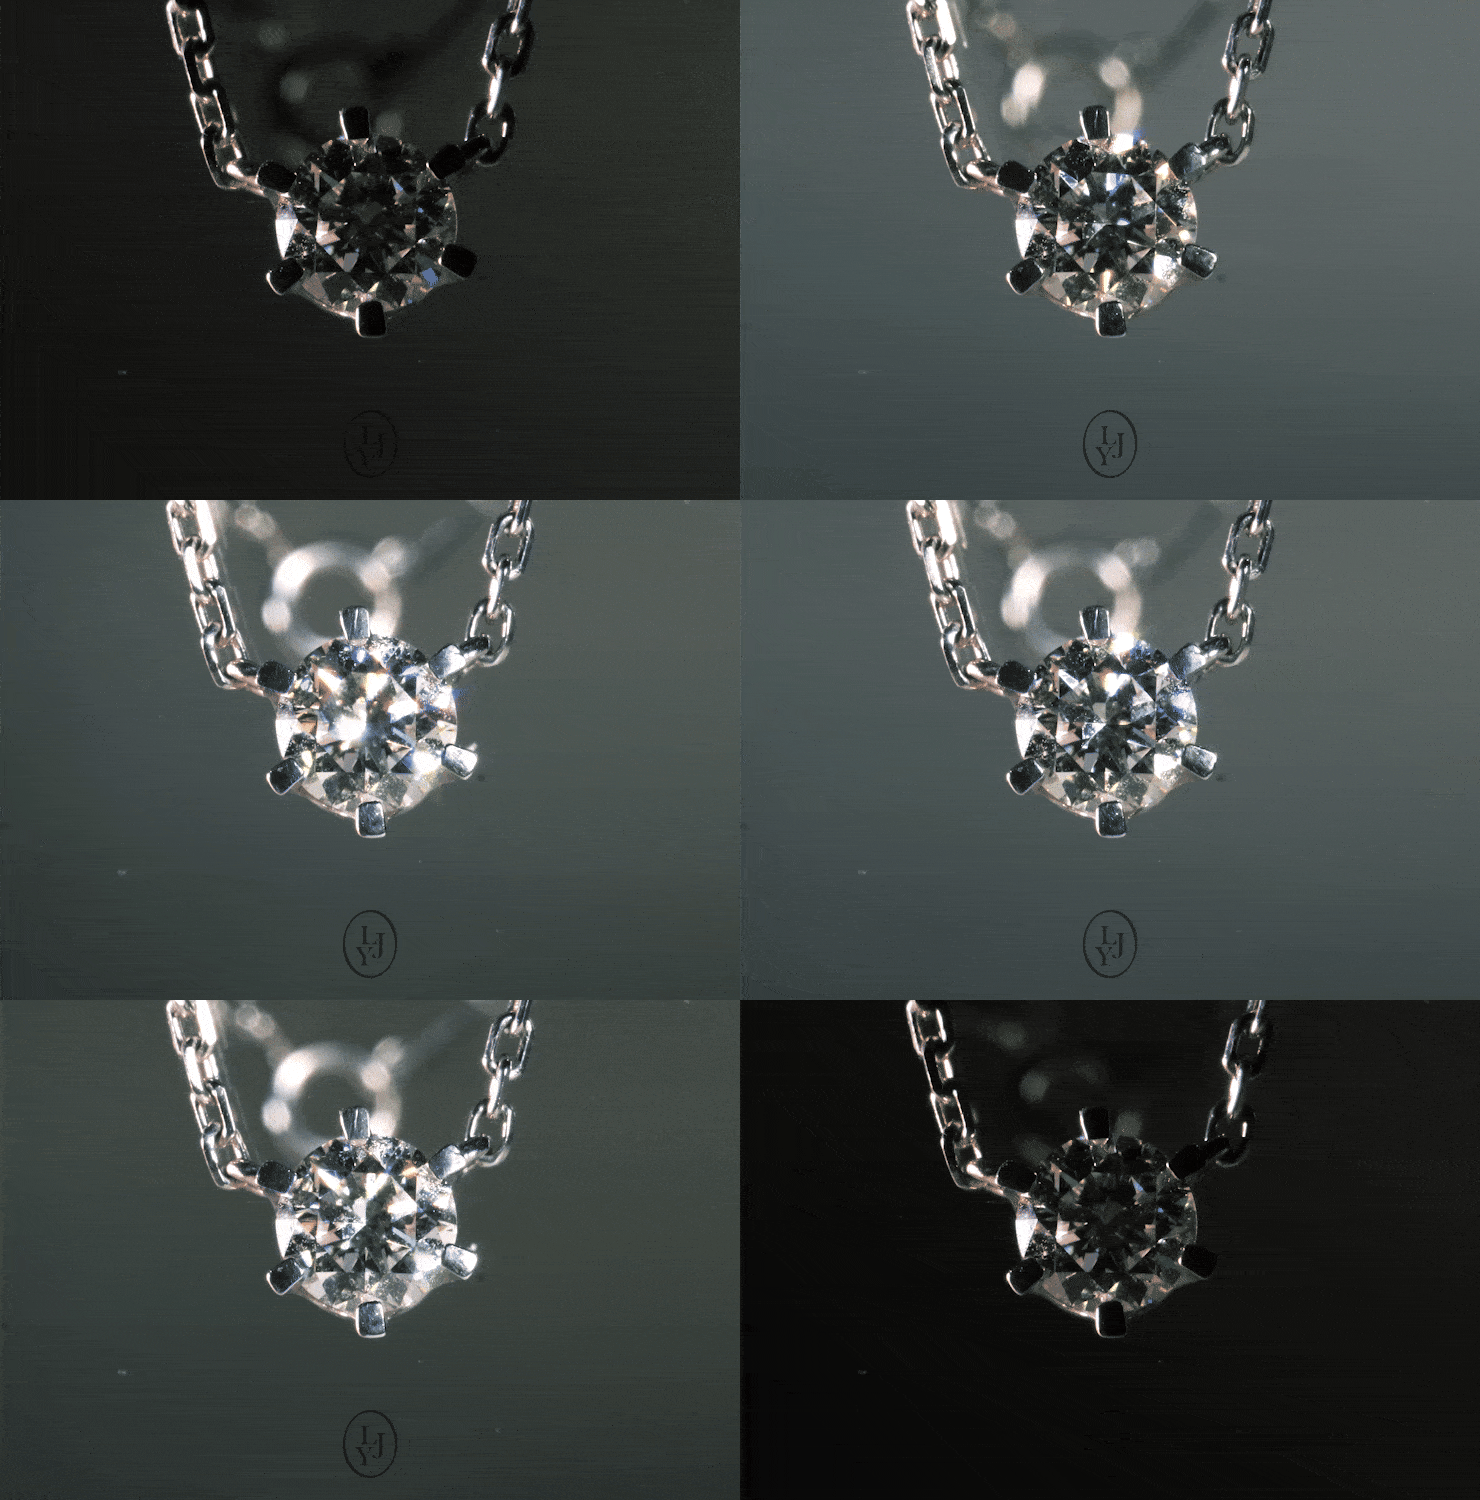
A mini turntable (for photography) is also a device specifically designed for photography. You can purchase one on online marketplaces for under 20,000 won, so be sure to give it a try.
3. How to Photograph Cosmetics
Since cosmetic photos need to visually convey the product’s appeal and characteristics, it’s important to capture the product’s texture, color, and overall concept. While highlighting the product itself (packaging, bottles, cases, etc.) is essential, you should also emphasize its functional aspects.
Capturing Texture: The Most Important Element
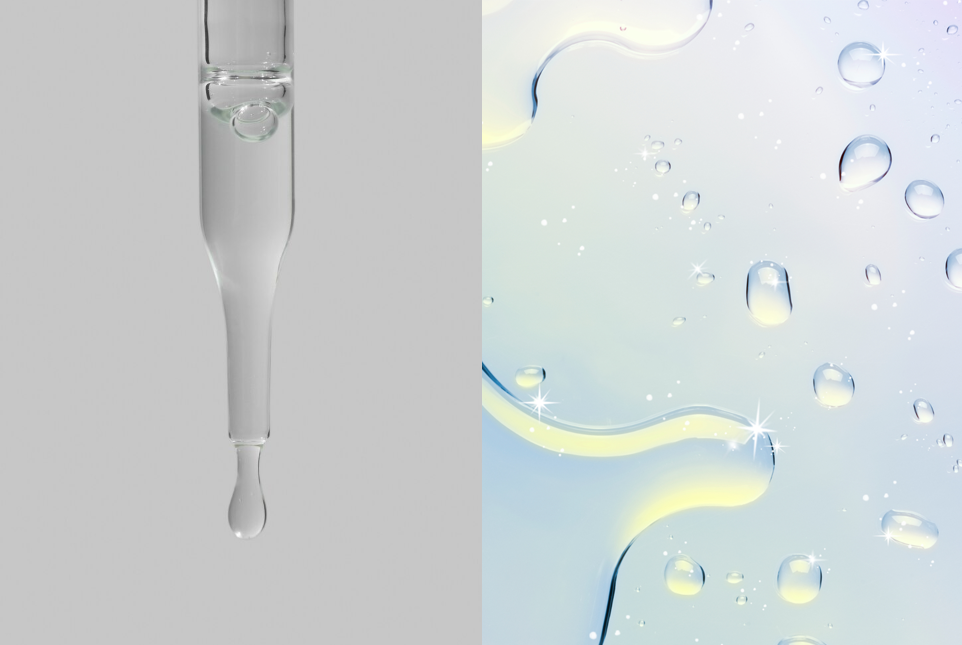
- Thin, runny textures (serums, toners, oils, etc.)
You should emphasize smooth, natural movement.To convey aclear andlight feel, simply drop an appropriate amount of the product onto an acrylic sheet and let it flow naturally. At this point, shining a bright light from beneath the transparent acrylic sheet further emphasizes the formula’s clarity and transparency. Using a surface that’s slightly tilted to one side helps highlight the flowing motion, allowing you to naturally express the formula’s fluidity.
Furthermore, using a dropper is even better. Taking a close-up shot of the moment the product falls or of the droplet clinging to the tip of the dropper allows for a visually striking composition.
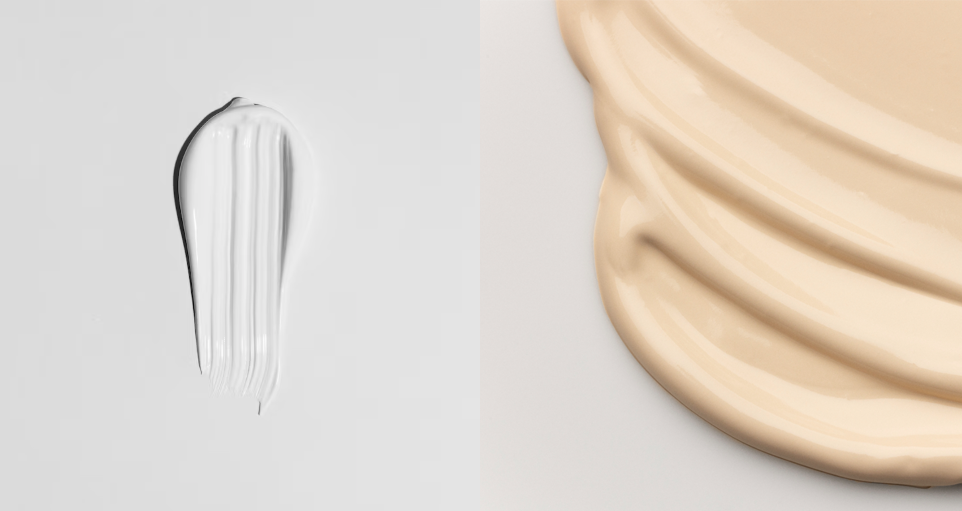
- Thick, viscous textures (creams, lotions, etc.)
It’s important to visually convey a texture that is both soft and firm. For creams, you can use a spatula to create round, smooth curves or give the impression that the product has been lightly scooped up—though it’s actually difficult to get it right on the first or second try. You’ll need to squeeze a small amount of product onto the surface and take the time to experiment until you achieve the most attractive shape. If you’re having trouble creating a round, attractive shape, try using a spoon instead of a spatula to scoop up the cream and then gently push it with the tip of the spoon to create a smooth curve.
- Solid formulations (lipstick, balms, powder, etc.)
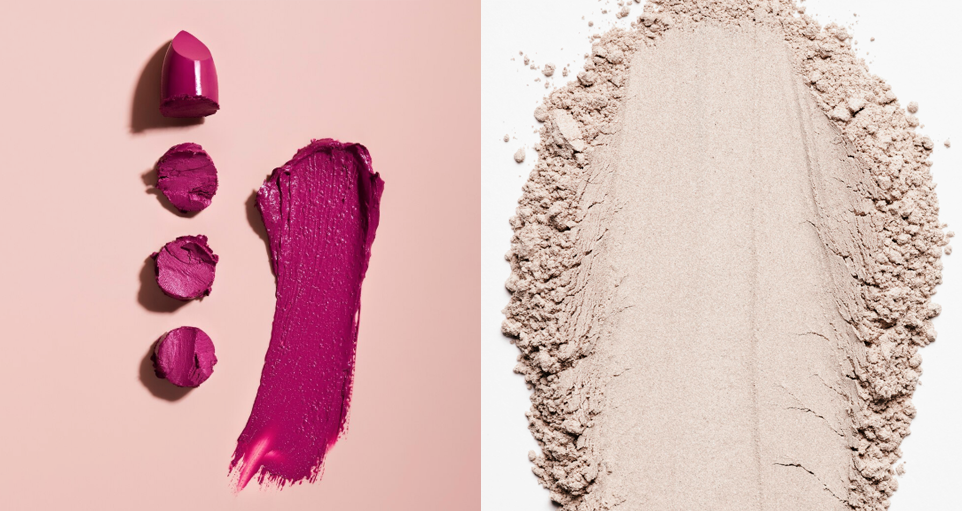
Although it varies by product, the focus is often on highlighting a firm texture and a smooth surface.If you’re showcasinga cross-section,use a knife to make a clean cut, then use a silicone spatula or a spoon with a thin handle to smooth out the edge. For powder products, try using a brush to make the solid powder appear as if it’s floating in the air. In this case, position the lighting so that it illuminates the powder from behind rather than from the front; this will allow the camera to effectively capture the powder suspended in the air.
Conveying the Brand’s Aesthetic
Want to convey your brand’s aesthetic through product shots? Style them differently depending on the product type.
- Natural Concept: Try using props like wood or marble. In particular, if you’re aiming for a clear, clean look, consider using props or objects that evoke a sense of purity, such as glass beads or water droplets.
- Modern Concept: Use limited lighting to darken the background and make the product stand out. To highlight the product, it’s common to use backlighting rather than direct front lighting.
How to Make the Most of Model Shots
1) Showing the Improved Results After Using the Product Through Model Shots
The more functional the product, the more important it is to clearly show the difference between before and after use (before & after).Forskincare products, use natural light or a diffuser to create soft lighting that gently diffuses across the skin. For makeup products, shooting before-and-after shots in the same environment to compare differences in coverage or color payoff will clearly convey the product’s effectiveness.
2) Indirectly Highlight Usage Instructions Through Scenes of the Product in Action
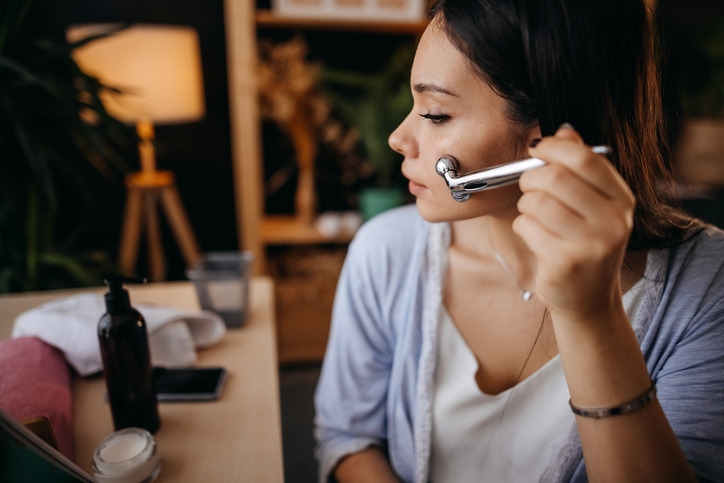
It’s important to naturally showcase the actual usage process— such as applying cream to the face, dispensing serum onto the palm, or the moment of applying lipstick. During the shoot, have the model use the product directly, directing them to perform the actions smoothly and naturally. To emphasize details, focus on the product being used and the hand movements to create effective shots.
3) Highlighting Key Features Such as Spreadability and Absorption
Shooting close-ups of a cream gliding smoothly onto the skin or a serum being absorbed can visually convey the product’s texture and feel. To emphasize absorption, apply a small amount of the product to the skin and capture the process step by step as it sinks in, or show a close-up of the skin after the product has been fully absorbed. To highlight spreadability, use slow-motion shots to capture the formula spreading naturally across the skin and the moment it makes direct contact with the skin, which further emphasizes the product’s spreadability.
4) Conveying a Positive Image of the Product Through the Model’s Bright Expression
A bright and lively expression not only instills trust in the product but also serves as a marketing strategy that can evoke emotions in consumers. To emphasize facial expressions, I recommend using close-up shots of the face and positioning the lighting slightly to the side rather than directly from the front.
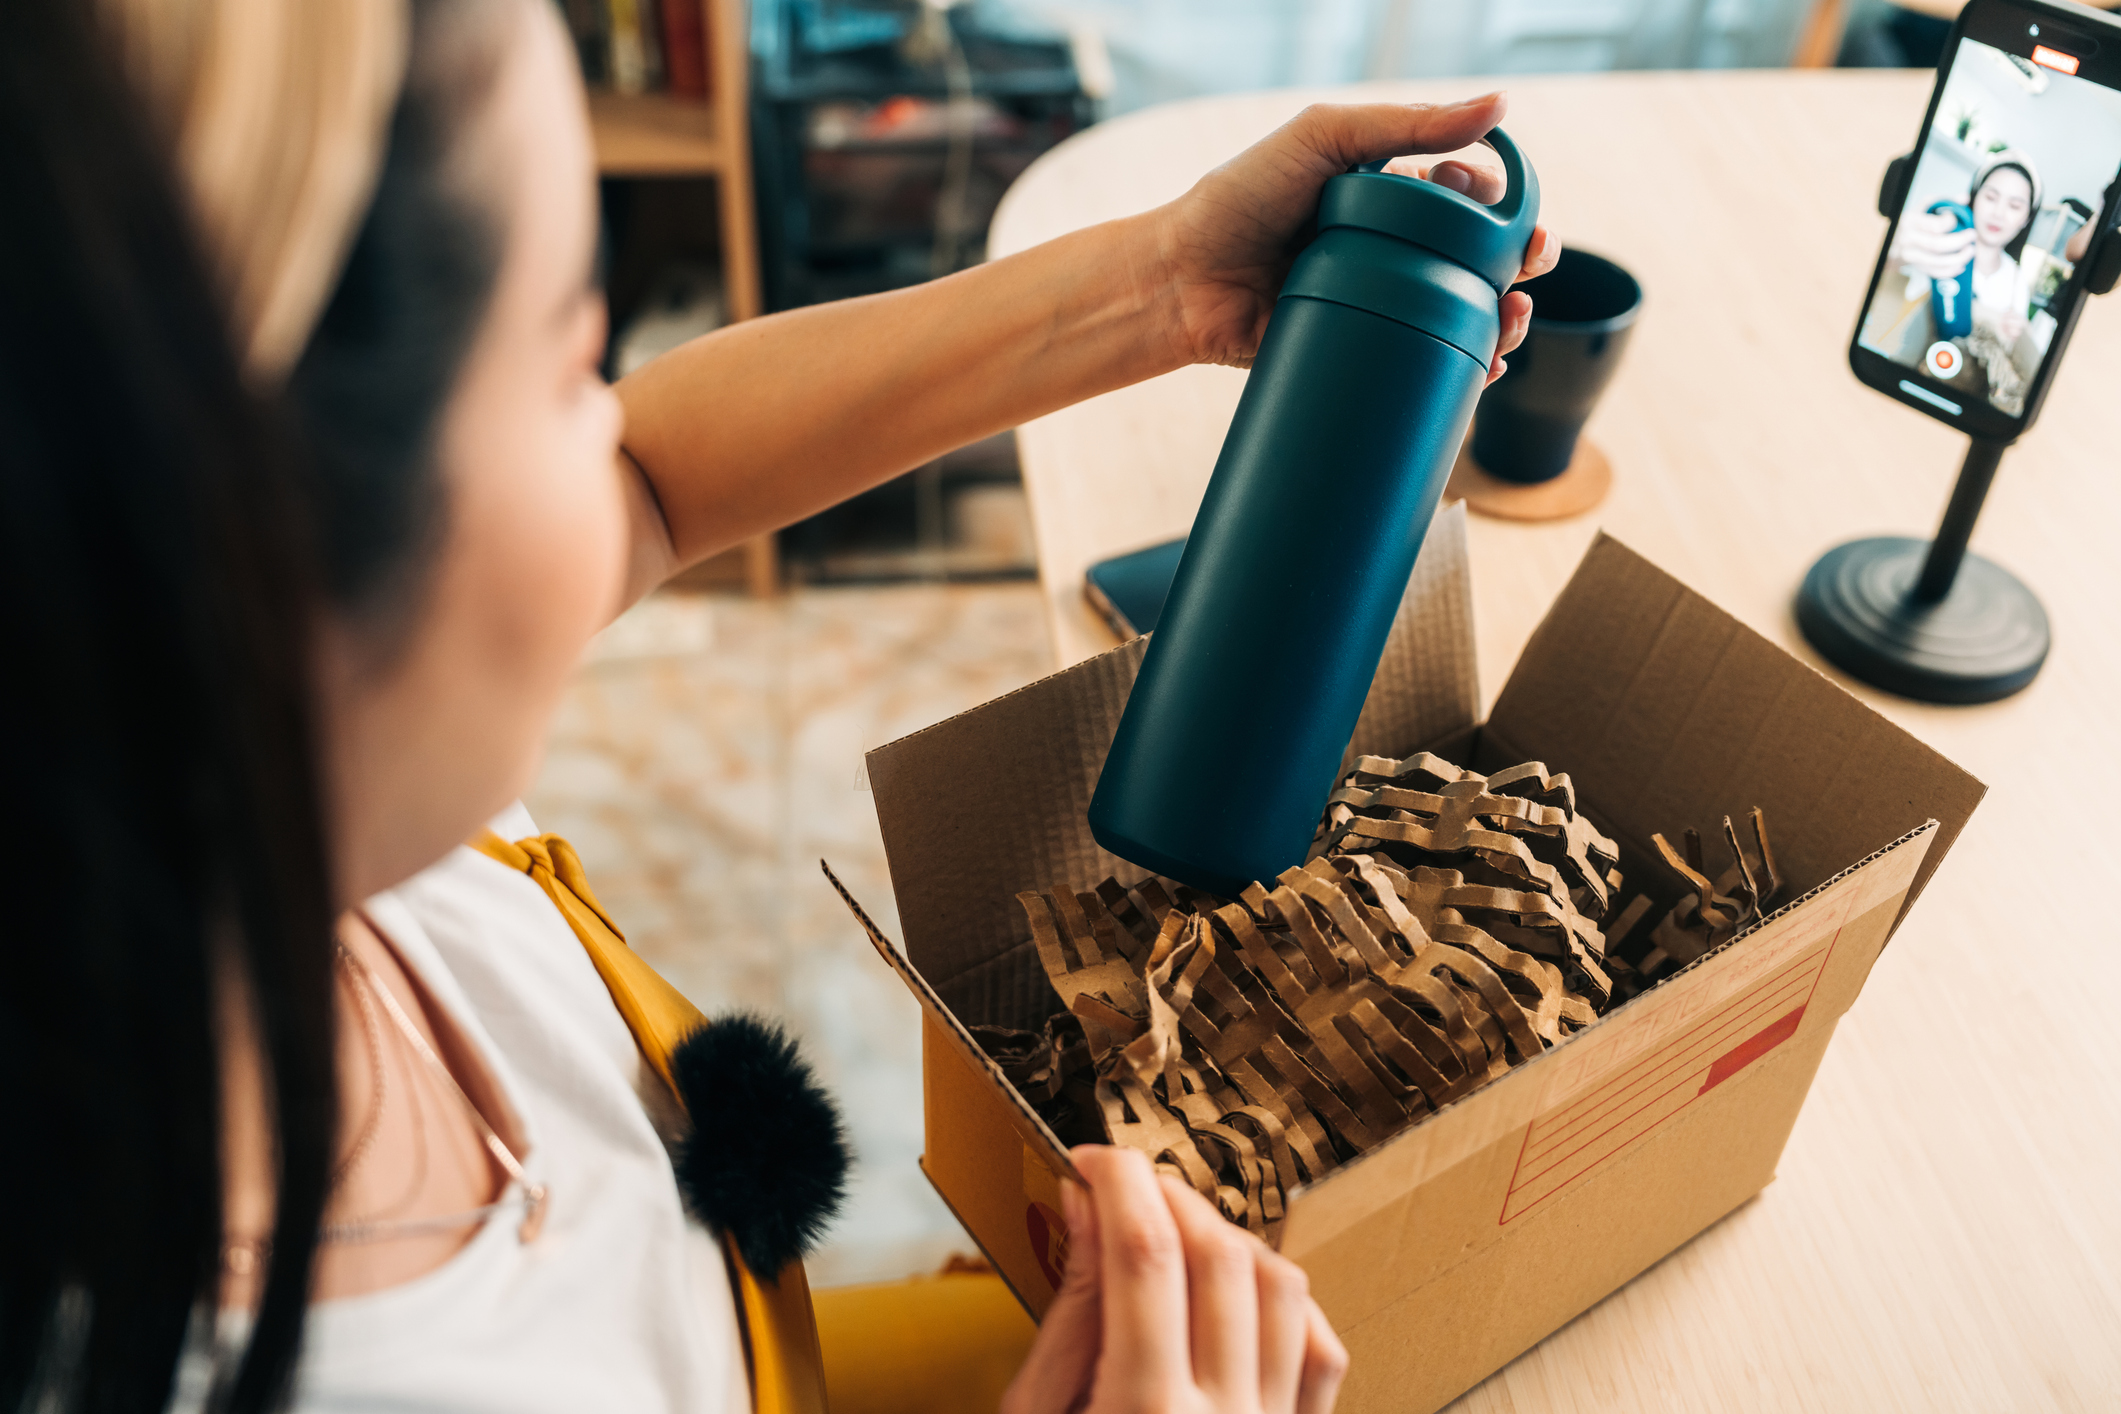
While there are countless types of products , the most important thing is your understanding of the product and confidence in the aspects you want to highlight. I hope my tips have been helpful.
<Product Photography Tips for Detail Pages> Series
- [Product Photography Tip #1 for Detail Pages] How to Take Professional-Looking Photos with a Smartphone
- [Product Photography Tip #2 for Product Detail Pages] How to Take Product Photos Using Only a Smartphone
- [Product Page Photography Tip #3] Photo Editing Techniques That Make Viewers Stop Scrolling
- [Product Page Photography Tip #4] Expert Tips for Photographing Different Types of Products

Written by Jeon Su-yeon, GenieCloud Editor